The idea for starting this bowl came from the many, many requests, from all over the world, as to how I put the diagonal pieces through my segmented work. This is how I do it.
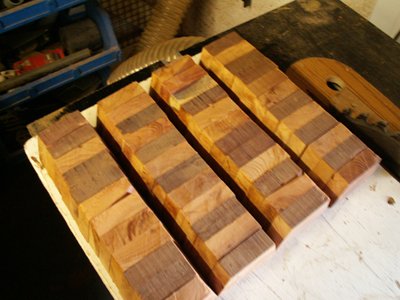
This shows the initial segments to the 4 rings. The wood I have used is Yew.
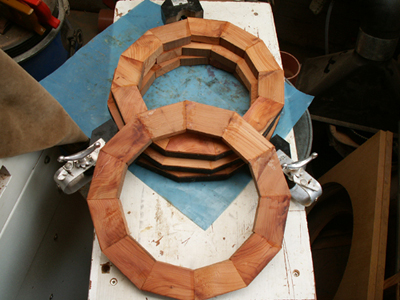
Here the 4 rings of segments have been glued.
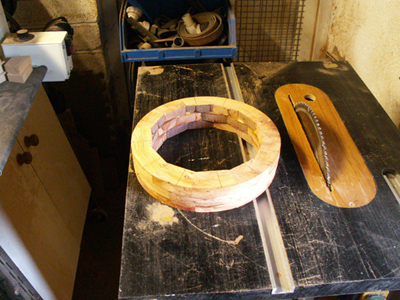
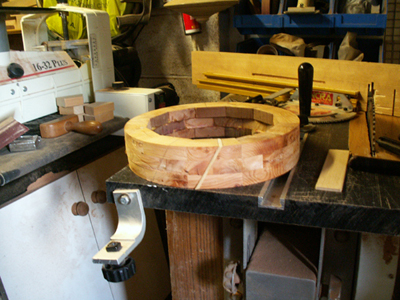
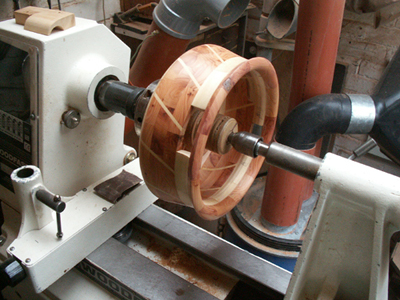
This shows 3 rings glued together and roughly turned round on the outside. A little trick I learnt here was to drill down through the 3 rings of segments, in 2 or 3 places and push in wooden cocktail sticks to stop the rings sliding when drying in the press.
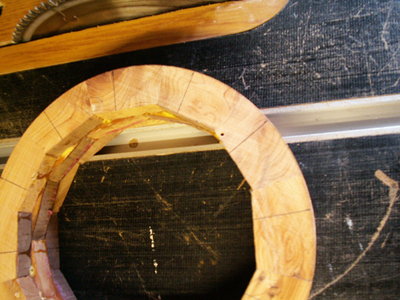
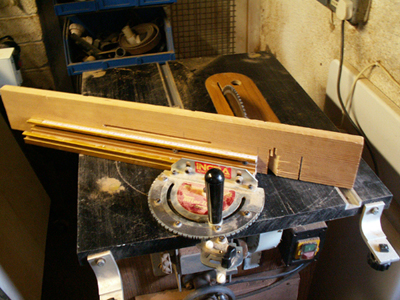
This picture illustrates where I have marked pencil lines to line up square to the saw and saw table when I actually cut the diagonal slots. It is a good idea to number the slots 1-12.
Here you can see the sacrificial piece of timber that I screw to my mitre gauge in order to give the segmented rings a backing whilst being cut.
The angle that I set on the mitre guage for this particular piece is 30 degrees. I have however, used angles from 90 degrees, which is vertical, and as far over as 45 degrees, but with 45 degrees you will experience problems when you insert your woodpiece and band clamp because one half of the ring will try to ride over the other. To overcome this problem you can clamp one side to the bench then band clamp it.
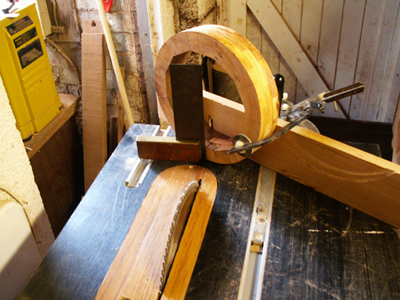
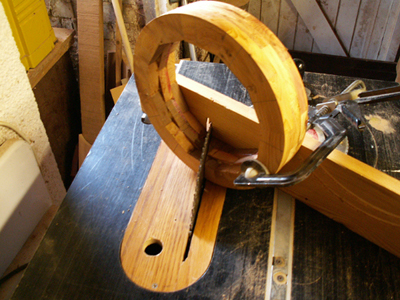
This shows how I clamp the 3 segmented rings to the backing board. Using the set square I make sure the pencil lines I put on the rings are vertical to the saw blade and table. I will add at this point that I only cut 1 cut, which will be number 1, and I only insert one piece of timber. I then wait for this to dry, about 2-3 hours. My next cut will be number 6, and again left to dry. Next will be number 9, followed by number 3. You do it like this so that equal strain is placed on the whole thing, as opposed to doing 1,2,3,4 etc, which will place too much tension on the rest of the bowl. Follow this by doing numbers 2, 7 etc.
Here you can see the cut having been made.
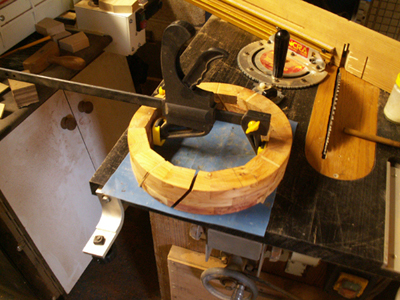
I expand the rings very carefully to give me a little clearance on the diagonal segments.
After each piece is glued in I band clamp it until dry. You can now see the diagonal piece in place.
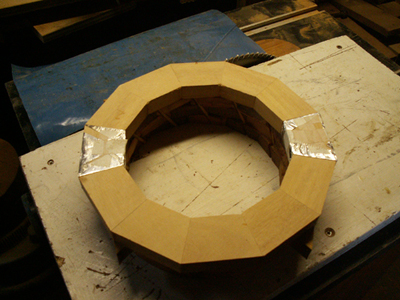
Part way through the making of this bowl, the club that I belong to had a competition to make an item with handles, which I have never done. So, as I like a challenge, I decided that I would try to put handles into the segments. Here in this picture you can see the actual dummy pieces of wood wrapped in foil to stop them sticking.
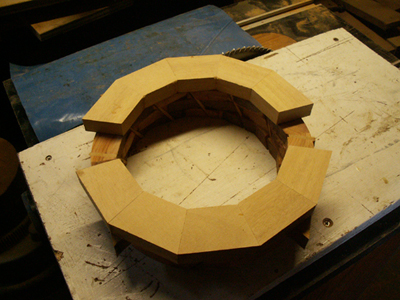
The 4th ring is now glued to the Yew with the 2 dummies removed.
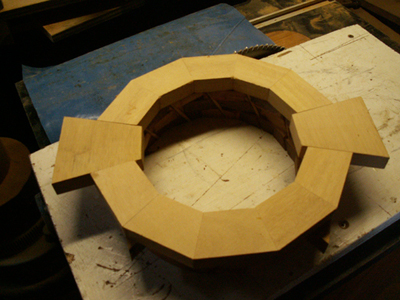
This shows the 2 larger segments, from which I am going to make the handles.
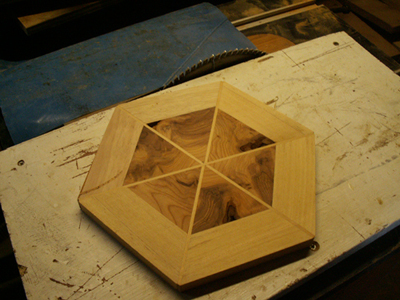
The base I used, all glued up.
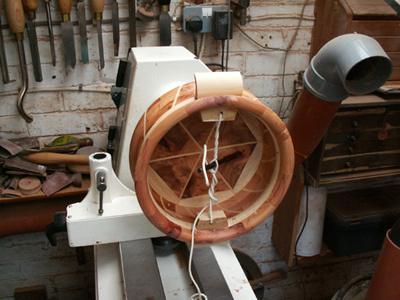
The bowl is now completely turned on the outside and you can see clearly the missing segments where the handles, which are sitting on the headstock, will be fitted.
Once glued and inserted you need to put pressure on the handles to make sure that they are a snug fit, and this is the only way I could think of doing it.
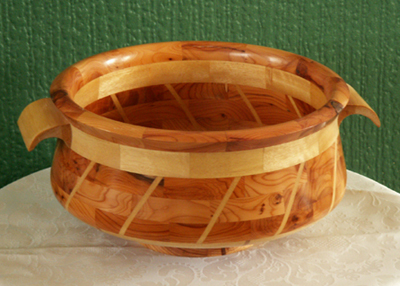
This is the finished article. I also used a solid round piece of yew for the base.


