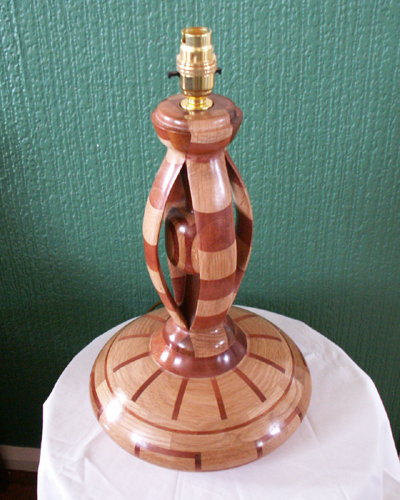
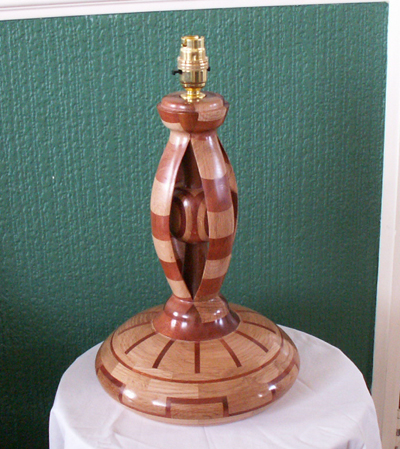
This picture shows the finished lamp.
The details below are of how I made the stem of this lamp.
The base part being a bowl, that is turned upside down. The bowl went slightly wrong and not wishing to waste it I incorporated it into this project.
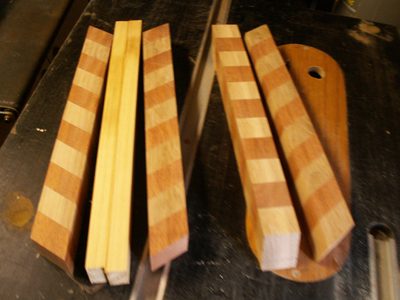
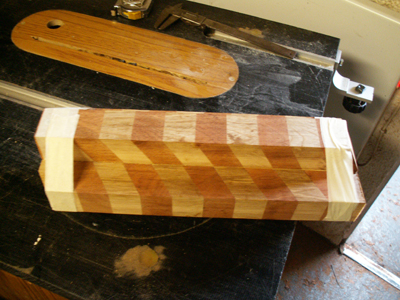
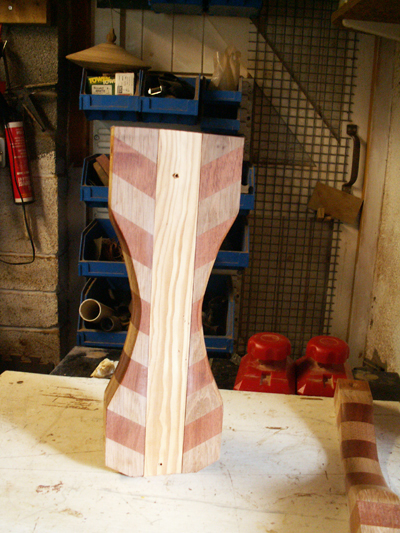
This shows the four lengths of Oak and Mahogany plus two pieces of softwood glued together, which will become waste later.
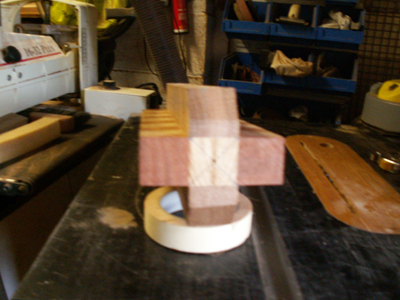
This shows the configuration of the four pieces of Oak and Mahogany attached to the waste piece in the middle.
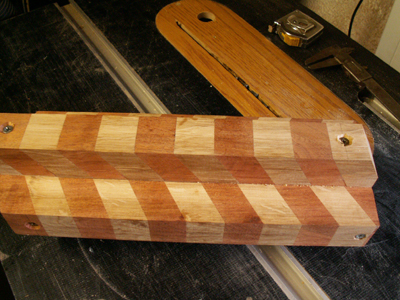
Here you can see that I have attached the Oak and Mahogany strips only at their ends using screws.
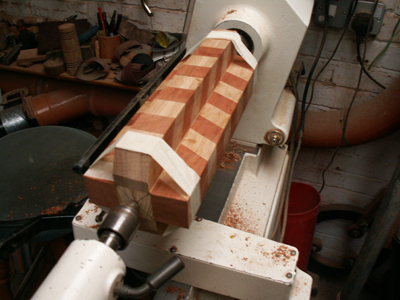
This shows tape wrapped around both ends to prevent the screws coming out and becoming missiles.
At this point I would like to point out that you should always use a facemask.
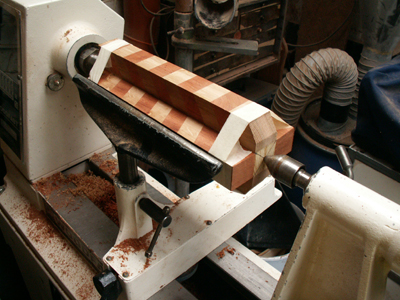
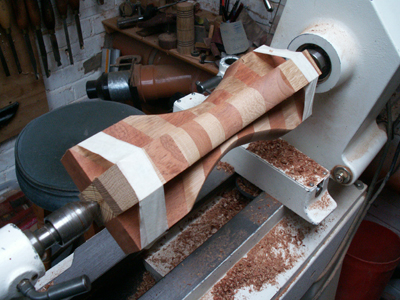
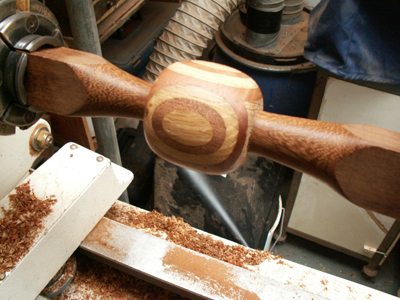
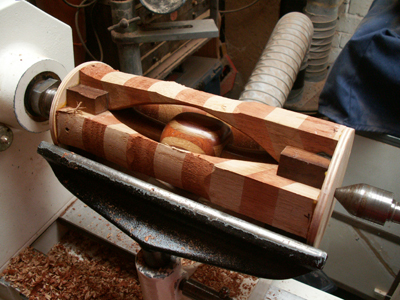
These two pictures show the assembly in the lathe ready to turn.
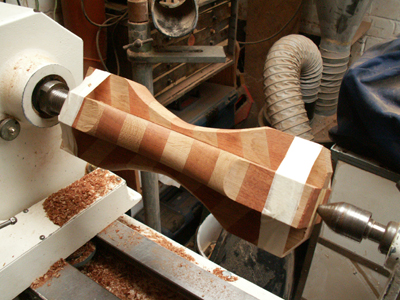
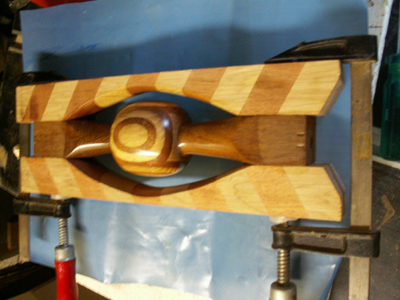
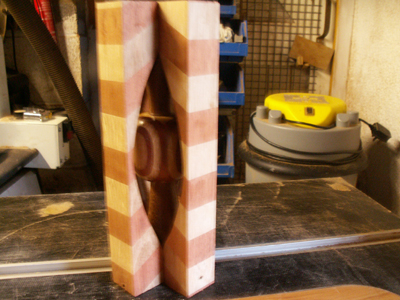
These two pictures show the inside having been turned.
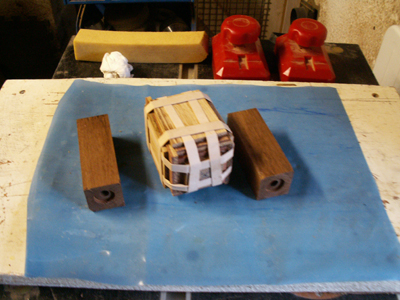
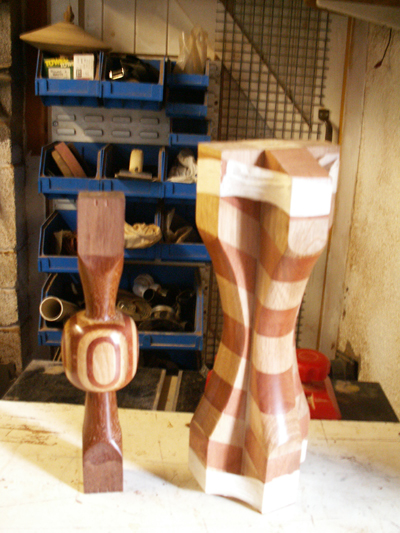
This shows the wood that will become the centre of the turning. The bit with the elastic bands is a mixture of Mahogany and Oak glued together.
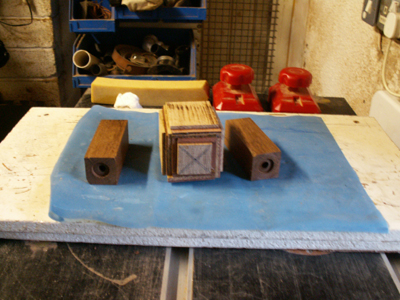
This shows the same as the previous picture but with the elastic bands removed.
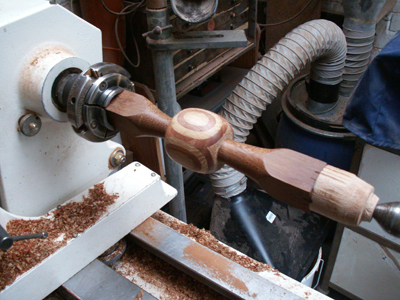
Here you can see the centre having been turned and sanded.
The centre has now been polished as has the inside of the involuted pieces.
This shows the waste piece of soft wood ready to be removed.
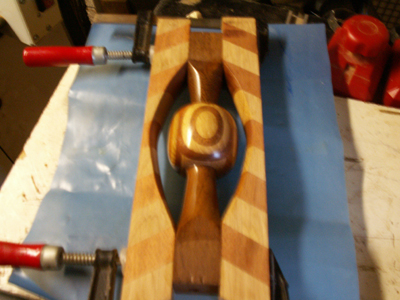
These show the centre being glued and positioned between two of the outside pieces.
Here you can see the other two pieces cut to length and glued into position.
The two plywood discs on the ends are there purely and simply so that I could find the centre more easily. The small blocks of wood you can see either end, there are eight in total, are the same wood as the central core and just add to the pattern once turned.
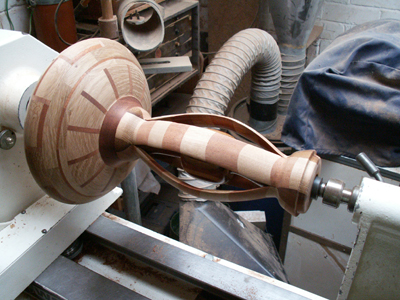
The involuted stem has now been attached to the upside down bowl.
The final picture shows the completed lamp, polished and wired etc.


