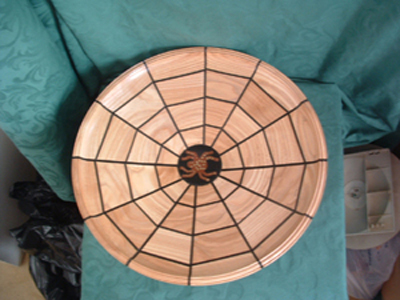
Some people have emailed me to ask how I got the radial ebony into the spider platter.
It is different in so far as you are not laying rings of segments on top of each other.
I dare say that there is another and perhaps easier way of doing this, but this way works for me.
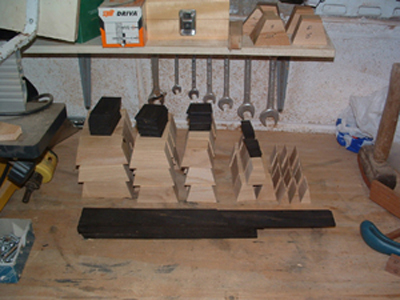
This shows all the wood cut and ready to be glued.
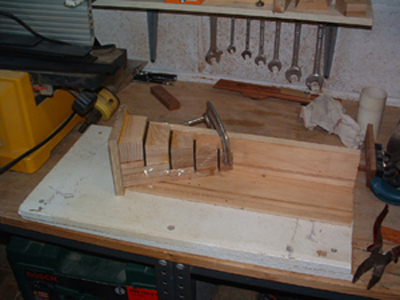
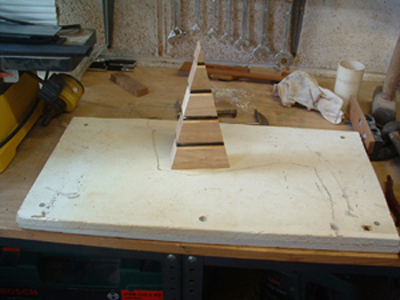
This is a simple, boxed and stepped jig for laying out the stacked wedge of segments,
which I use for glueing them together.
To stop the wedge sticking to the jig I covered it in cling film
and used fresh cling film for every wedge.
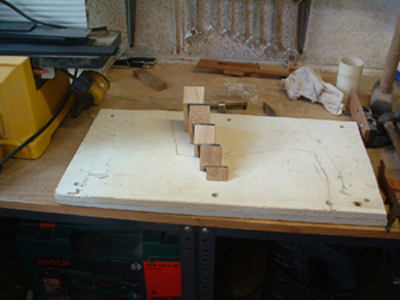
This shows one of the wedges after it has been glued.
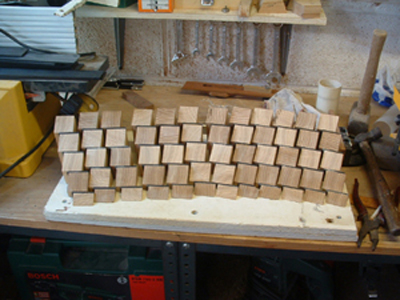
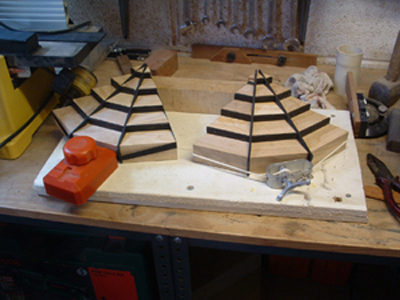
This picture shows the 12 wedges glued and ready for final assembly.
This picture shows one of the wedges face on.
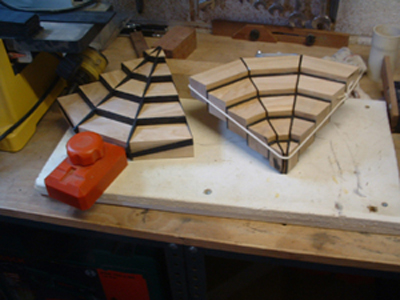
This shows 2 quarters of the platter, with the radials inserted.
The shows the underside and topside before turning.
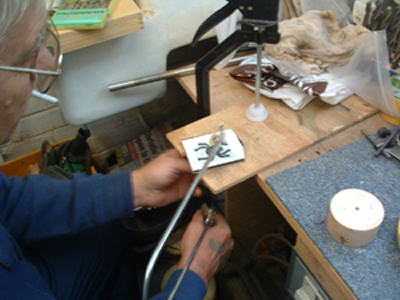
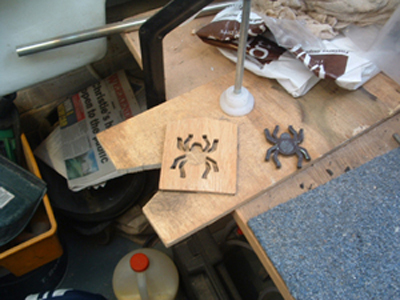
This shows the ebony being fret sawed out in the shape of a spider.
This is the ebony with its backing of thin plywood to give it structural strength.
Initially I wanted to use the spider I cut out, but it did not look right on the platter.
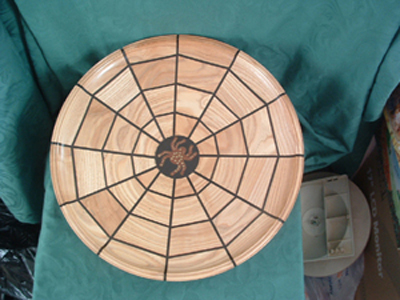
So I decided to use the piece I cut the spider out of, and infilled with a copper and brass resin.
It was then fitted in the bottom of the platter.
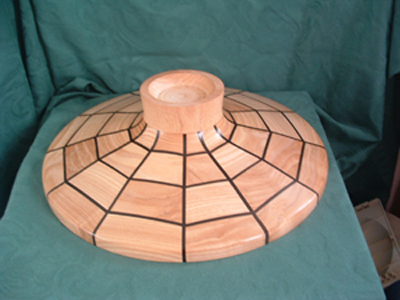
Finished platter
Base of platter made from solid Ash
Finished platter
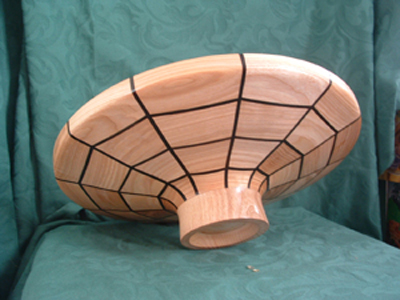
With this side view and indeed with some of the other views, because of the shape of the platter, it looks as though some of the web is not straight.
But it is an optical illusion.
Have a play. Its fun!


